

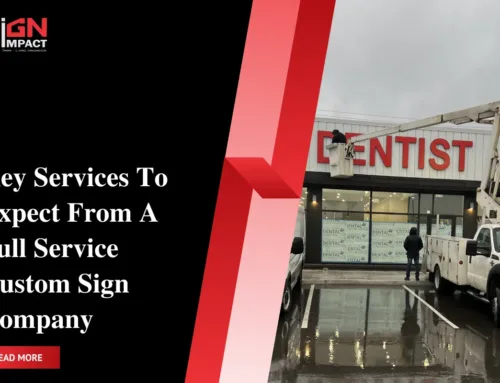
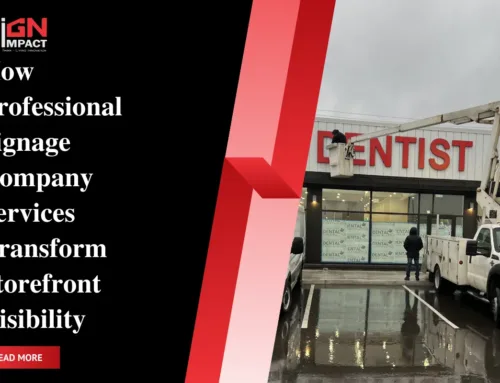
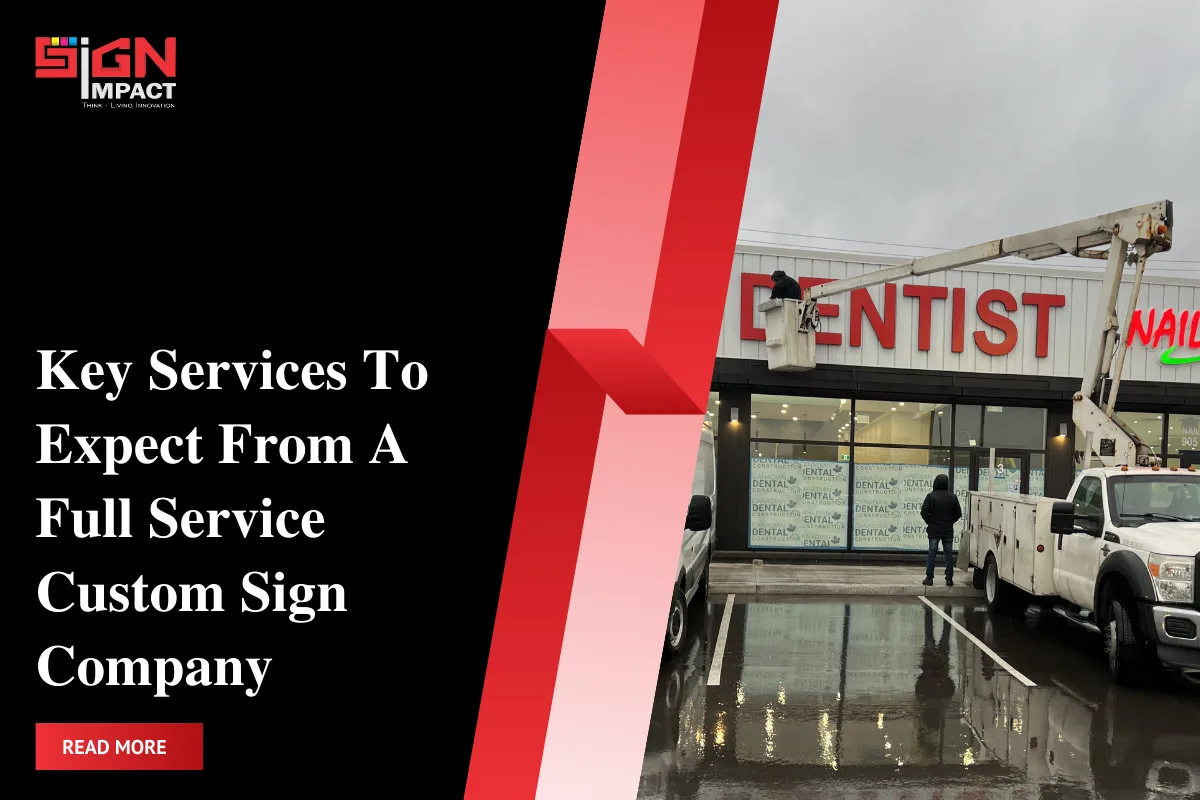
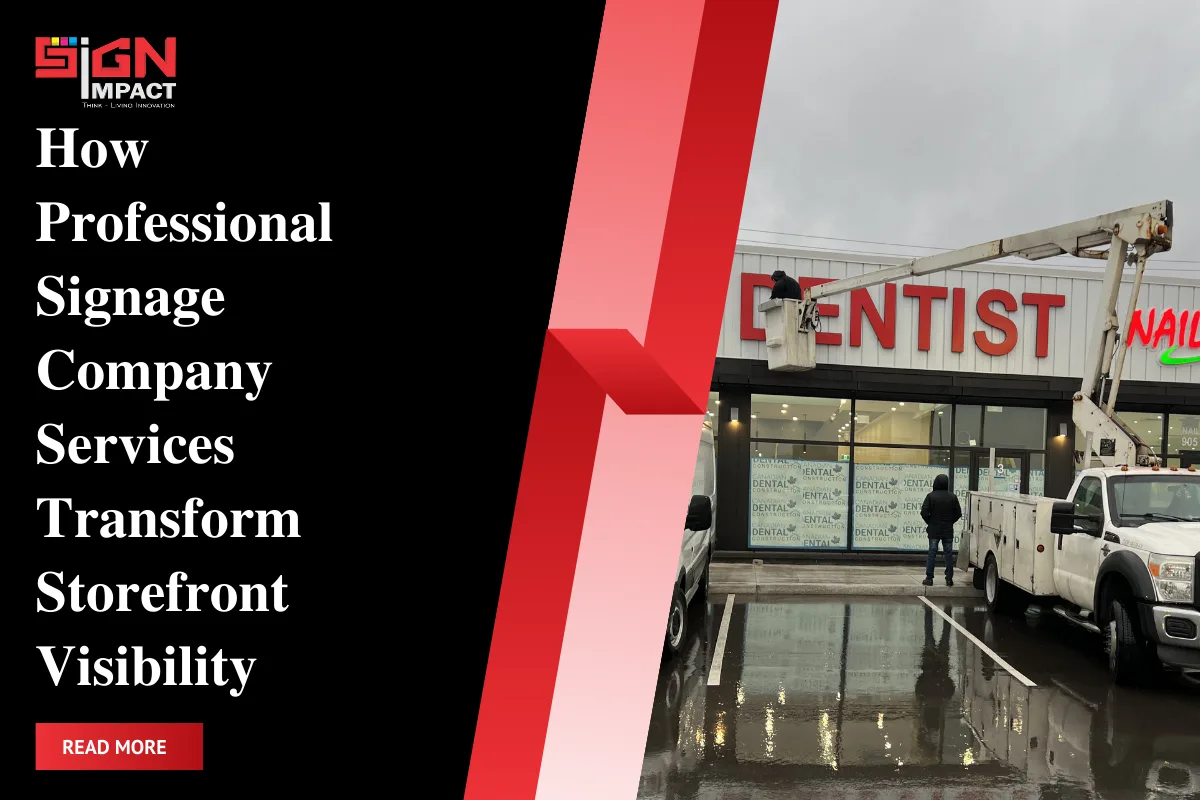
The custom sign design process is much more than choosing colours and adding a logo. For Toronto businesses, each step from the first idea to final installation affects visibility, brand perception, and long-term return on investment. When you understand how professional sign companies work, you can make better decisions about materials, timelines, and budget, and ultimately get signage that actually supports your business goals.
This guide breaks down the full sign design process used by experienced providers like Signimpact, a Milton-based sign company serving Toronto and the GTA. You’ll see what happens at each stage, what your responsibilities are as a business owner or manager, and how to avoid costly missteps before a sign ever goes into production.
For a broader look at sign types, services, and how to choose the right sign company in Toronto, make sure to also read: Complete overview: “Ultimate Guide: Sign Company Toronto for Custom Business Signs and Commercial Signage Solutions.”
Why the Custom Sign Design Process Matters for Toronto Businesses
In a competitive market like Toronto, the quality of your signage directly influences how customers perceive your brand. A well-managed custom sign design process ensures that your sign is:
- On-brand: matching your colours, fonts, tone, and overall identity.
- Visible and legible: readable at the right distance and in different lighting conditions.
- Compliant: meeting Toronto and GTA municipal by-law requirements.
- Durable: designed with appropriate materials for local weather conditions.
- Cost-effective: tailored to your budget without sacrificing key performance factors.
Skipping steps or rushing the process often leads to redesigns, permit delays, or premature sign failure. Working with a professional team like Signimpact helps you navigate the full journey with fewer surprises and a clearer signage installation workflow from the start.
Step 1: Discovery & Initial Consultation
Every successful project starts with clarity. The first stage of the custom sign design process is a discovery call or in-person consultation where your sign partner gathers key information about your business and objectives.
Key Questions to Clarify at the Start
- What is the primary goal of the sign? (Attract foot traffic, improve visibility from a busy road, help customers navigate inside, etc.)
- Where will it be installed? (Storefront façade, pylon structure, interior wall, window, vehicle, etc.)
- Who is your audience? (Pedestrians, drivers, office visitors, shoppers in a mall, etc.)
- What is your budget range and timeline?
- Do you already have brand assets? (Logo files, colour codes, fonts, brand guidelines)
Site Assessment for Toronto Locations
For exterior and larger interior projects, a site visit is often part of the sign design process. At this stage, a Signimpact representative will typically:
- Measure the installation area accurately.
- Assess wall or façade conditions (brick, glass, metal panels, etc.).
- Check visibility sightlines from sidewalks and nearby roads.
- Identify power sources for illuminated signage.
- Note potential obstructions (trees, awnings, other signs).
This information directly influences design decisions, material selection, and mounting methods—especially important for Toronto storefronts in older buildings or multi-tenant plazas.
Step 2: Strategy & Concept Development
Once your goals are clear, the next phase in the custom sign design process is developing a strategy and initial design concepts. This is where design, marketing, and technical considerations intersect.
Aligning Signage with Your Brand and Business Goals
A professional sign company will translate your brand into physical form. For example:
- Retail boutiques in downtown Toronto may benefit from elegant, illuminated channel letters to stand out in evening foot traffic.
- Industrial businesses near major routes might prioritize large pylon signs with bold, high-contrast lettering for visibility at speed.
- Offices may focus on polished interior reception signs, window films, and wayfinding signage to create a professional environment.
During this stage, the design team at Signimpact considers how your signage works together as a system—exterior storefront signs, window graphics, and interior wall decals—so every customer touchpoint reinforces your brand.
Translating Objectives into Custom Signage Concepts
Based on discovery, your sign partner will typically present one or more conceptual directions, which may include:
- Rough layout sketches or digital mockups.
- Preliminary size recommendations.
- Initial material and illumination ideas (e.g., aluminum faces, acrylic letters, LED backlighting).
At this point, the goal is not perfection but alignment. Your feedback helps refine the direction before moving into detailed design.
Step 3: Design, Drafting & Proofing
With a clear concept in place, the design team advances to detailed artwork and technical drawings. This is one of the most critical phases of the custom sign design process, as it sets the foundation for accurate fabrication and installation.
Design Deliverables You Should Expect
A professional sign shop will usually provide:
- Full colour renderings showing your sign on photos of your actual storefront or interior wall.
- Scaled drawings with accurate dimensions.
- Colour specifications (Pantone, CMYK, or RGB values).
- Material callouts (e.g., 3 mm aluminum composite panel, 3D acrylic letters, vinyl type and thickness).
- Illumination details for illuminated signage (LED modules, wiring points, power supply requirements).
Proofing and Revisions
Proofing is your opportunity to catch issues before production. During this part of the sign design process, review carefully for:
- Correct spelling and grammar.
- Brand accuracy: logo, colours, and fonts.
- Legibility from intended viewing distance.
- Consistency with other existing signage.
Most projects involve one to three rounds of revisions. Working with a team like Signimpact, you’ll receive updated proofs until you are confident everything is correct and ready to move forward.
Balancing Design, Compliance, and Budget
The final design must satisfy three constraints: what looks best, what is allowed by local regulations, and what fits your budget. This is where experienced Toronto sign professionals add significant value recommending alternatives such as:
- Using a combination of illuminated channel letters and non-illuminated secondary panels.
- Adjusting sign size to comply with Toronto sign by-laws while maximizing visibility.
- Selecting materials that offer durability without exceeding your budget.
Step 4: Permits, Engineering & Approvals
Before your sign can be installed, you may require permits or landlord approvals especially for exterior storefront signs, pylon signs, and illuminated signage in Toronto.
Understanding Sign Permits in Toronto
Regulations vary by municipality, but the process usually involves:
- Submitting drawings and specifications to the city or relevant authority.
- Confirming sign size, placement, and illumination methods are compliant.
- Obtaining structural engineering approvals for larger or elevated signs.
Handling permits on your own can be time consuming. Signimpact offers permit assistance with local authorities, helping Toronto and GTA businesses navigate paperwork, drawings, and any required engineering stamps.
Landlord and Property Management Approvals
If you operate in a plaza, mall, office building, or managed property, you will often need sign design approval from the landlord. Standards may specify:
- Allowed sign types (e.g., front-lit channel letters only).
- Maximum height and width.
- Approved placement on the façade.
- Colour restrictions for uniform appearance.
A professional sign company can align your design with these criteria and provide documentation landlords expect, streamlining overall approvals.
Step 5: Fabrication & Production
Once the artwork is approved and permits are in motion (or granted), your project moves into fabrication. This is where your approved design becomes a physical product.
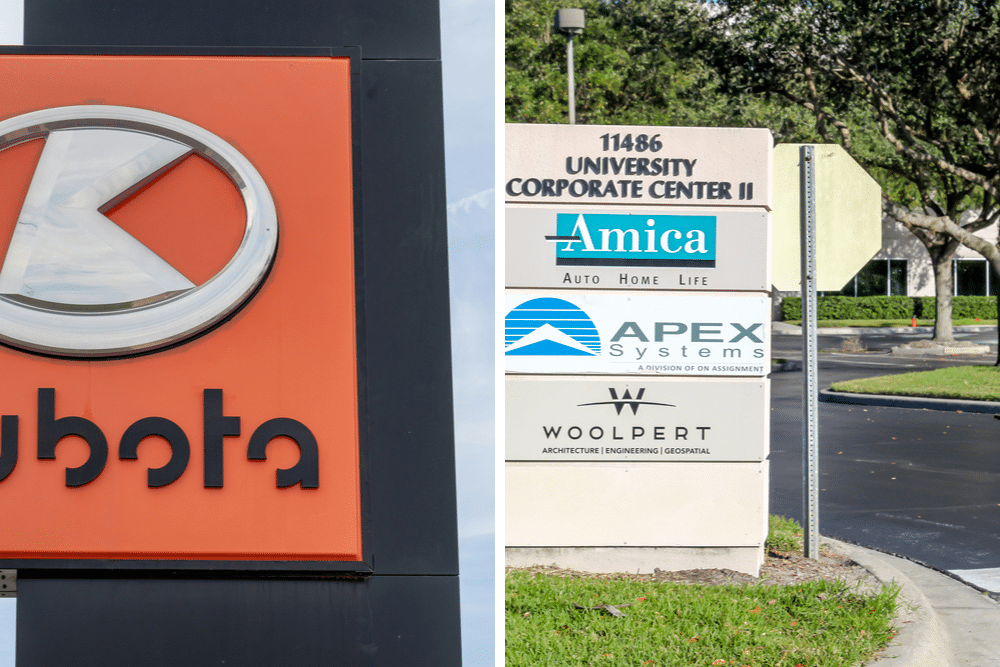
Typical Materials Used for Custom Signage
The materials chosen during the custom sign design process directly affect durability and aesthetic. Common options include:
- Aluminum and aluminum composite panels: Lightweight, rust-resistant, ideal for outdoor storefront and pylon signs.
- Acrylic: Used for dimensional letters, illuminated faces, and reception signs.
- High-performance vinyl: For window graphics, wall decals, and vehicle wraps.
- LED modules: Energy efficient illumination for channel letters and lightboxes.
Quality Control During Fabrication
To ensure a smooth signage installation workflow, a reputable sign shop will perform checks at multiple stages, such as:
- Verifying colours against proofs.
- Confirming measurements and cut sizes.
- Testing LED illumination and electrical components.
- Prefitting components (for channel letters, pylon structures, and cabinet signs).
At Signimpact, fabrication is coordinated with installation scheduling so your sign is ready on time and stored appropriately until installation day.
Step 6: Planning the Signage Installation Workflow
A professional signage installation workflow ensures your new sign goes up safely, efficiently, and with minimal disruption to your business.
Pre-Installation Planning
Before crews arrive onsite in Toronto or surrounding GTA communities, your sign company typically:
- Confirms permit status and any required inspections.
- Coordinates access times with your business (during or after hours).
- Arranges lift equipment, hardware, and safety gear.
- Prepares electrical requirements (if illuminated signage).
OnSite Installation Steps
While exact steps vary by sign type, a standard installation may follow this sequence:
- Marking and layout: Installers mark drill points and align templates to ensure correct placement and level installation.
- Drilling and mounting: Holes are drilled, anchors are installed, and sign structures are securely fastened.
- Electrical connections: For illuminated signs, licensed electricians connect power and test circuits.
- Sealing and finishing: Seams are sealed (when required), and visible hardware is minimized or capped.
- Final inspection and cleanup: Installers check stability, illumination, and aesthetics, then remove debris.
Safety and Compliance During Installation
Proper installation is crucial not only for appearance but also for safety and code compliance. Professional sign companies follow:
- Local construction and electrical codes.
- Manufacturer guidelines for hardware and assembly.
- Workplace safety requirements for ladders, lifts, and protective equipment.
This protects your business from liability and ensures your signage remains secure in Toronto’s varying weather conditions.
Step 7: Post Installation Review, Maintenance & Future Planning
The custom sign design process doesn’t end when the sign is mounted. A good partner will help you evaluate results and plan for ongoing care.
Final Walkthrough and SignOff
After installation, your sign provider should walk you through:
- How to operate lighting (if applicable).
- Cleaning instructions and recommended products.
- Warranty coverage for materials, lighting, and installation.
Basic Maintenance Tips for Toronto Businesses
To keep your sign looking sharp and extend its life:
- Clean acrylic and metal surfaces periodically with non-abrasive cleaners.
- Inspect for loose hardware after major storms or freeze-thaw cycles.
- Address flickering or failed LEDs promptly to maintain a professional appearance.
- Refresh vinyl window graphics and wall decals when branding or promotions change.
Planning Future Signage Upgrades
Over time, your needs may evolve. A thoughtful initial sign design process makes it easier to:
- Add matching interior signs or wayfinding elements.
- Expand branding to fleet vehicles with wraps and graphics.
- Update logos or colours while keeping core structures like pylons or cabinets.
Establishing an ongoing relationship with a local provider like Signimpact ensures continuity in design and quality as your brand grows.
Example: How the Custom Sign Design Process Works in Practice

To make the process more concrete, here’s a simplified example of how a typical project might unfold for a new retail store opening in Toronto.
Scenario: New Boutique Storefront Sign
A retailer opening in a busy Toronto neighbourhood contacts Signimpact for a custom illuminated storefront sign and window graphics.
| Stage | Key Actions | Client Involvement
|
|---|---|---|
| Discovery & Site Visit | Measure façade, photograph storefront, review plaza sign criteria. | Share brand guidelines, discuss goals and budget. |
| Concept Development | Create initial layouts for channel letters and window graphics. | Choose preferred concept and provide feedback. |
| Design & Proofing | Produce scaled drawings, mock up sign on storefront photo. | Approve colours, size, wording; request minor revisions. |
| Permits & Approvals | Submit drawings to city and landlord for approval. | Sign forms and provide any required business documentation. |
| Fabrication | Build channel letters, fabricate raceway, print window graphics. | None; receive progress updates. |
| Installation | Install letters, connect power, apply window graphics. | Confirm installation timing; inspect and sign off. |
| Post-Installation | Review cleaning, warranty, and lighting schedule. | Monitor performance and plan future interior signage. |
This type of structured signage installation workflow ensures your grand opening is supported by professional, on-brand signage that’s ready when you are.
Working with Signimpact: Benefits of a Local Toronto Area Partner
Choosing a Toronto area sign company that manages the entire custom sign design process in-house offers several advantages:
- Local code and by-law knowledge: Experience with Toronto and GTA sign regulations reduces delays.
- End-to-end service: From design and permits to fabrication and installation, you work with one team.
- Faster communication: Local site visits and responsive support throughout the project.
- Brand consistency: The same team can handle exterior signs, interior signs, window graphics, wall decals, and vehicle wraps.
Signimpact, based in Milton and serving Toronto and the Greater Toronto Area, specializes in custom storefront signs, channel letters, pylon signs, illuminated signage, and interior sign solutions. If you’re planning new signage or a rebrand, involving a professional early in the process can save time and ensure your final product truly represents your business.
Frequently Asked Questions About the Custom Sign Design Process

Q: How long does the custom sign design process usually take?
Timelines vary depending on sign type, complexity, and permitting. For many storefront projects in Toronto, you can expect:
- Design and proofing: 1 to 3 weeks (including revisions).
- Permits and approvals: Several weeks, depending on municipal and landlord response times.
- Fabrication: 2 to 4 weeks on average.
- Installation: Typically scheduled within days of fabrication completion.
Starting early especially for new business openings to helps ensure your sign is installed before launch.
Q: What information do I need to start the sign design process?
To begin, it helps to have:
- Your logo in vector format (AI, EPS, or high-resolution PDF).
- Brand colours and fonts, if available.
- Photos or basic measurements of the installation area (if a site visit hasn’t yet occurred).
- Any landlord or plaza sign criteria you’ve received.
- A rough idea of your budget and timeline.
Q: Can I reuse parts of an existing sign to save money?
Sometimes, yes. For example, you may be able to reuse an existing sign cabinet or pylon structure and update faces, graphics, or lighting. During the initial assessment, a provider like Signimpact can evaluate what is reusable and what should be replaced for safety or performance reasons.
Q: How involved do I need to be in the process?
You should be actively involved at key decision points goal setting, design approvals, and scheduling installation. Beyond that, a full-service sign company will handle technical details, permitting, fabrication, and installation, keeping you informed at each major milestone.
Q: What types of custom signage can follow this process?
The same structured custom sign design process applies to a wide range of custom signage, including:
- Storefront signs and channel letters.
- Pylon and monument signs.
- Indoor wall signs, reception signs, and wayfinding.
- Window graphics and window films.
- Vehicle wraps and fleet graphics.
Conclusion: Get the Most from Your Custom Sign Design Process
When approached strategically, the custom sign design process becomes a powerful tool for building visibility, strengthening your brand, and attracting customers across Toronto and the GTA. From initial discovery and concept development to permits, fabrication, and a seamless signage installation workflow, each stage plays a role in the quality and effectiveness of your final custom signage.
Partnering with an experienced provider like Signimpact means you have expert support at every step design, permits, professional installation, and long-term maintenance. Whether you’re opening a new storefront, rebranding your business, or upgrading outdated signs, now is the right time to plan your next project with a structured, end-to-end process.
To explore sign types, services, and how to choose the best sign company for your needs, continue your research with: “Ultimate Guide: Sign Company Toronto for Custom Business Signs and Commercial Signage Solutions.”
